This Ableton Live Feature Should Be BANNED
7 capitulos
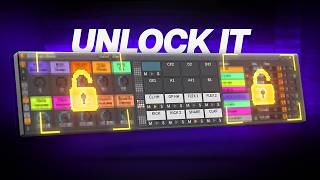
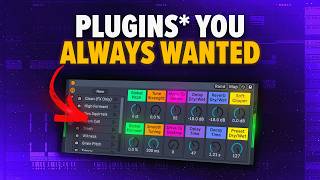
- Introduction to Racks and Their PowerProblem StatementMost users create audio racks but forget about them because they look and feel worse than paid plugins, despite offering similar functionality.Solution OverviewRacks can deliver the same functionality as expensive plugins while looking cleaner and more professional.Capabilities• Create audio effects • Create instruments • Combine both effects and instrumentsVideo PromiseTemplates and presets provided to help viewers create professional-looking racks.
- Building a Vocal Effects RackSetup FoundationUse a parallel processing template with two effect slots to enhance vocal chops.Loading Effects• Load Hybrid Reverb on Effect One • Load Echo on Effect Two • Set dry and wet to 100% on both effectsFine-tuning Process• Adjust Reverb amount downward for subtlety • Increase Echo to desired level • Use global dry and wet controls for precise adjustmentMacro AssignmentAssign Reverb decay time to Macro 4 and sync delay time to Macro 5 for quick parameter control.
- Mastering Macro Mapping and ControlsMacro OrganizationColor code macros to keep complex mappings organized and visually clear.Setting Ranges• Set minimum values (e.g., 200 milliseconds for reverb) • Set maximum values (e.g., 5 seconds for reverb) • Fine-tune range to prevent excessive effectsComplex Button MappingFor binary switches like sync buttons, use minimum value 0.005 and maximum 0 to create on/off functionality.ResultCreate a clean, professional space plugin that rivals paid alternatives.
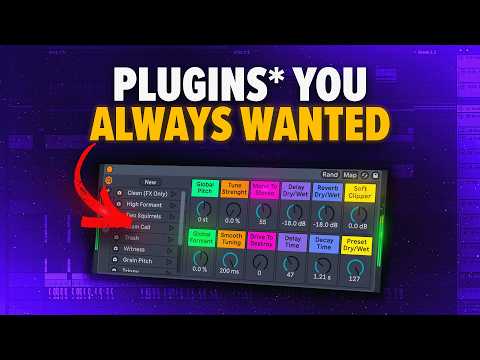
- Building Multi-Stage Processing ChainsAdding Pitch ProcessingUse the Auto Shift plugin before the space rack to disguise audio sources and avoid copyright detection.Chain Organization• Collapse complex sections to show only essential controls • Group Auto Shift and space plugin together • Transfer macros between layers for unified controlNested Macro ControlAssign Auto Shift pitch to Macro 6 and formant to Macro 7, allowing main rack window to control nested effects.Final StructureCreate a main plugin-like interface controlling both pitch processing and reverb/delay effects.
- Implementing Effect Variations and Chain SelectionMulti-Effect TemplateUse a template with 10 effect slots to switch between different processing chains dynamically.Chain Selector Function• Map chain selector to a macro for switching between effect slots • Chain selector distributes effects across 0-127 range • Allows on/off switching between different effect presetsVariations SystemUse macro variations to create different preset states, enabling easy switching without complex mapping.Setup Process• Transfer effect slot selector to Macro 9 • Create separate variations for dry signal and each effect • Rename variations for clarity (e.g., Dry, FX One, FX Two)
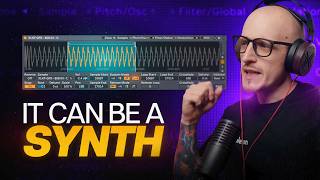
- Creating Instrument Racks with Sound DesignStarting PointCreate a basic sound in Wavetable and group it to access macro assignment options.Macro Assignment• Assign wavetable position to Macro 1 • Map amplitude to Macro 2 • Assign bias to Macro 3 • Map FM modulation amount to Macro 4Effect IntegrationAdd effects like Roar to instrument rack for extended sound design capabilities.Random VariationsUse the randomization button to generate varied presets automatically.
- Advanced Preset Control and Exclusion RulesRandomization ControlThe randomization button allows automatic generation of preset variations.Exclusion Options• Right-click macros to exclude from randomization • Exclude from variations for user-controlled parameters • Exclude from both for static parametersSelective VariationExclude specific macros to keep certain parameters manual while others randomize for creative presets.Preset Making WorkflowThis technique is used to create complete preset packs, with templates available for both Standard and Suite versions.