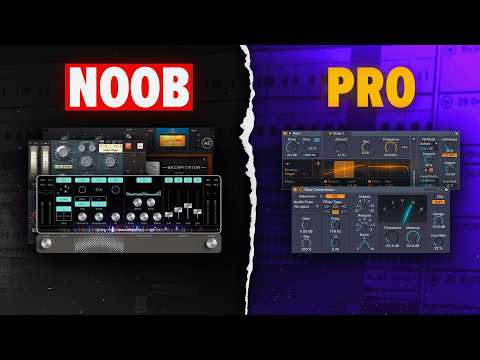
5 Simple Steps To PRO Drums in Ableton (Stock Plugins ONLY)
10 capitulos
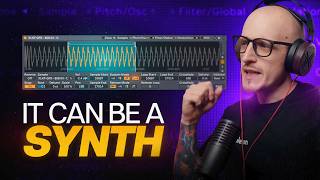
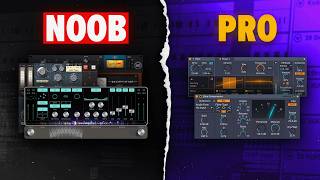
- Introduction to Professional Drum SoundProblem StatementDrums carry the entire song and are crucial to track quality. Poor drum sound can undermine an otherwise good production.Common MisconceptionThe Drum Boss device is popular but unnecessary - you can achieve the same or better results using stock compressors and saturators.MIDI vs Audio BasicsBoth MIDI and audio drums perform equally well. The perceived weakness of MIDI is only due to default volume settings on Simpler or Drum Sampler.Solution OverviewAbleton has built-in tools and techniques to make drums sound professional using only stock plugins.
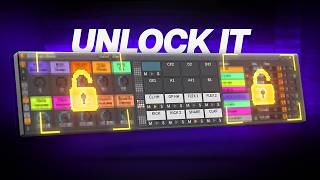
- Rhythmic Steps Sequencer and Drum PatternsNew Tool IntroductionRhythmic Steps is a new sequencer in Ableton that helps generate creative drum patterns without manually programming every note.How It Works• Chance sliders determine the probability of each sound being triggered • Set sliders to 100% for consistent playback or lower for random variation • The sequencer randomly decides which sounds play based on chance parametersPattern VariationsYou can create multiple variations for different drum sounds like hi-hats and percs, each with independent randomization settings.Converting to MIDITo use Rhythmic Steps throughout your session, convert it to MIDI by creating a blank MIDI track, dragging the sequencer into it, and routing to your drum rack.
- Creating Custom Drum FillsPurposeDrum fills add a cool response effect and make your production sound more polished and professional.Quick Method• Right-click a drum break and choose Slice to new MIDI track • Use 16 slices for optimal results • Create a new MIDI clip and use the Generate option with seed parameters • Set duration range (e.g., 1/4 to 1/16) and enable Legato for clean playbackCustom ApproachCreate a new MIDI track with your favorite drum sounds in a drum rack, then use the same seed generation method with custom duration settings.ExecutionPlace the drum fill at the end of a bar for natural musical phrasing.
- Extracting Chains and Converting to AudioWhy Extract ChainsDrum rack MIDI clips are difficult to view clearly in the session. Converting to audio makes the visual representation and editing much easier.Extraction Process• Click the chain expansion button in the drum rack • Right-click individual sounds (kick, snare) and select Extract Chain • Group similar sounds with variations and extract them together • Drag extracted audio back into the groupFinalizingSelect all MIDI clips and use Freeze and Flatten Tracks to convert everything to audio.ResultYour drums are now in audio format, making mixing and processing more transparent and intuitive.
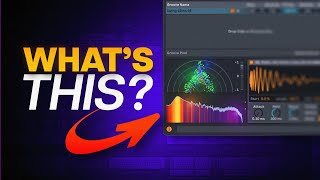
- Sound Selection and Layering TechniquesSound Selection PrioritySpend extra time finding the perfect drum sounds rather than trying to fix poor sounds with EQ and compressors later.Corpus Device Application• Apply Corpus to snares using the pipe mode for resonant character • Tune the device to your song key using the opening knob • Use Corpus preset on kicks to add warmth and perceived loudness better than expensive emulationsFoley and Effects LayersLayer sound effects or Foley samples from professional packs on top of your drums to add depth and character.Layering ImpactStrategic layering helps drums fit naturally into the mix and adds professional polish to the overall sound.
- Reverb and Subgroup ProcessingReverb ChallengeApplying reverb to drums is tricky because you typically avoid reverb on the kick to maintain punch and clarity.Solution Structure• Create a subgroup called Tops containing all drums except the kick • Use a stock compressor with sidechain listening option set to receive input from the kick • Compress the Tops whenever the kick plays to prevent reverb muddinessReverb ApplicationApply a short hybrid reverb to the Tops subgroup and control blend with dry and wet parameters.BenefitThis approach keeps the kick transient clean and clear while adding spacious reverb to other drums, important for EDM and drum and bass genres.
- Compression and GlueGlue Compression BasicsA basic stock glue compressor ties the entire drum bus together, but settings depend on tempo, genre, and drum pattern.Parallel Compression Strategy• Use parallel compression instead of standard glue when drums already sound good • Set fast attack and release to control transients • Lower threshold to catch peaks while increasing makeup gain • This adds punch without destroying the original drum characterAdvanced OptionMax Mono's Light device offers more control than stock glue and provides a punchier, more transparent compression.SelectionChoose based on preference - stock compressor is fully functional for most applications.
- Roar and Transient ShapingRoar for GritRoar device adds aggression and presence to drum buses through saturation and shaping.Setup Process• Activate envelope following to react to drum transients • Set a big crossover for frequency control • Increase threshold to catch only drum peaks • Lower release for faster transient reactionTone ControlThe tone knob in Roar is underrated and allows easy control of overall drum bus brightness and character.Carver Alternative• Carver is a dedicated transient shaper with attack and sustain controls • Can increase or decrease transient length with visual feedback • Offers Punchy, Classic, or Natural transient curves • Works similarly to Roar with envelope following for transient control
- Saturation and Clipping TechniquesSaturation UsageSaturation and clipping are mandatory for professional EDM drum sound, adding color and loudness.Stock Saturator Settings• Two key parameters: saturation type and clipping mode • Use analog clip with soft clipping and color mode for added color and warmth • Use digital clip with hard clipping to tame transients without colorApplication StrategyIf drums already have saturation from other processing, use digital hard clipping to control volume and transients without overdoing it.Final ControlUse hard clipping with turned-off color to precisely manage drum bus volume and transient behavior.
- Final Thoughts and Best PracticesProcessing MisconceptionMany producers believe drums need extensive processing with SSL emulations and magic plugins, but this is often unnecessary.Real-World ExampleA breakdown of a major EDM track showed professional results with minimal drum processing, proving proper sound selection is more important than heavy processing.Key PrincipleSound selection matters more than effects and processing - finding the right drum sounds is the foundation of professional drum sound.SummaryProfessional drum sound in Ableton can be achieved entirely with stock plugins through proper selection, layering, and strategic processing.