![How to Make Hypnotic Techno Synth (free preset) [Ableton Techno Tutorial]](https://img.youtube.com/vi/v-mjY-Vlgv0/hqdefault.jpg)
How to Make Hypnotic Techno Synth (free preset) [Ableton Techno Tutorial]
Learn how to create a hypnotic techno synth sound from scratch with a free preset included
6 capitulos
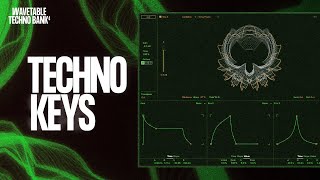
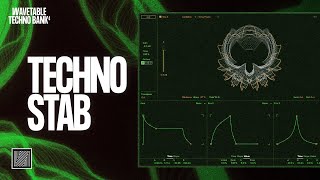
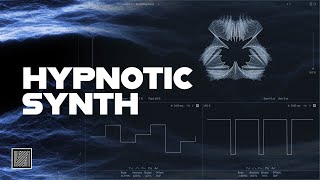
- Setting Up the WavetableConfiguration initialeSet the synth to mono mode and select the Octa Face waveform, bringing the position to 100Effets de distorsion• Apply Wrap at 100 percent to add bite to the wavetable • Set default parameter to around 20 to modulate and evolve the soundFiltre passe-basSelect MS20-style low-pass filter and bring it down to open it quicklyEnveloppe d'amplitude• Set attack to zero for a percussive sound • Keep sustain nearly at maximum • Leave decay and release as default
- Filter Modulation and Envelope ShapingModulation du filtreClick on the filter to add it to the matrix and modulate it with an envelope to around 68Forme de l'enveloppe• Set attack to zero milliseconds for very fast response • Bring down the decay around 200 milliseconds for a sharp, plucky soundModulation du pitchAdd pitch modulation with LFO set to two semitones in trigger and sync mode with sine wave at around eight hertzAjustement de subtilitéReduce the LFO amount to create a subtle vibrato effect rather than dramatic pitch changes
- Adding Bite and SaturationTraitement Amp• Use Amp in boost mode with stereo output • Keep dry weight at 100 percent • Adjust gain, bass, mid, and treble to tasteNiveau de volumeReduce the volume output to avoid excessive loudness while adding presenceSaturationAdd Saturator in hard code mode to make the sound more powerful and cohesiveCompensationReduce the saturator output to -5 to balance the overall level
- Modulation Effects: Chorus and FlangerChorus Ensemble• Use Chorus Ensemble in classic mode • Bring width to 50 for maximum stereo effect • Set rate around two hertz and crank up the amount for excitementConfiguration Flanger• Switch to flanger mode with driver at one percent • Set rate to 1.18 hertz for very slow movement • Bring amount down to 78Modulation LFO• Access second LFO and set to earth mode at 11 hertz for slow movement • Choose triangular analog waveform • Set amount to 50 percent and adjust duty cycle and phase for variationÉquilibre du mixSet dry wet around 30 percent to maintain the main sound while adding subtle flanger modulation over time
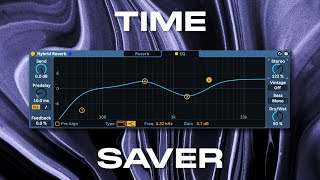
- Delay and Reverb ProcessingConfiguration du delay• Use Echo in sync and link mode • Set time to 7 with slight shift on the right channel • Adjust dry wet for stereo balanceFiltrage du delay• Add low-pass filter to the delay at around 1.5 kilohertz • Set resonance around 26 • Set filter range to 11 kilohertz to reduce messinessReverbe Shimmer• Use Hybrid Reverb in shimmer algorithm mode • Reduce decay and set gyrate around 30 percent • Keep size and dumping around 50 percentParamètres de shimmer• Disable pitch shimmering but keep shimmer effect at 100 • Set diffusion to 90 percent for smooth, spacious reverb
- MIDI Pattern and Final SoundStructure du patternMIDI pattern uses notes 0 and 6 with a jumping sequence: once, twice up, once down, once up, twice down, repeated throughoutVariation mélodiqueThe repeating pattern creates interesting melodic combinations that add movement and interest to the hypnotic techno soundRésultat finalThe complete preset combines wavetable synthesis, filter modulation, saturation, chorus, flanger, delay, and reverb for a full, evolving hypnotic techno soundRessources supplémentaires• Free preset available in video description • MIDI file provided with the tutorial • Full Wavetable Techno Bank 3 available for additional sounds