How to properly balance the mix on your low and high end
6 capitulos
- Introduction and channel overviewCommon questionsTwo frequently asked questions are addressed: how to balance mix levels in the low and high end, and how to use Span effectively.Mix balance challengeMany people want professional-sounding mixes but don't know how to fix levels properly.Tool introductionSpan is presented as a practical solution for mix balancing, though often misunderstood by users.Video goalDemonstrate an accessible method for using Span to balance low and high end frequencies in a mix.
- Setting up reference tracks and preparationReference selection• Three reference tracks chosen: a house track known for utilizing the frequency range well • Geijer track as an industry standard for melodic techno • Matthem track representing darker, ambient electronic music stylesMix preparationAll tracks are mastered, so bring levels down to -6 dB as industrial standard before analysis, giving mastering engineer room to work.Span setupPlace Span on the master channel to monitor frequency response of all elements. Span is a free plugin available for download.Settings optimization• Adjust settings for slower reaction time to see overall average levels rather than rapid fluctuations • Modify block size to control resolution precision of frequency visualization
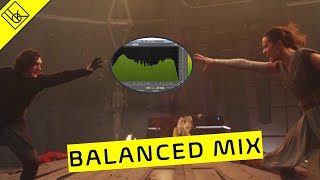
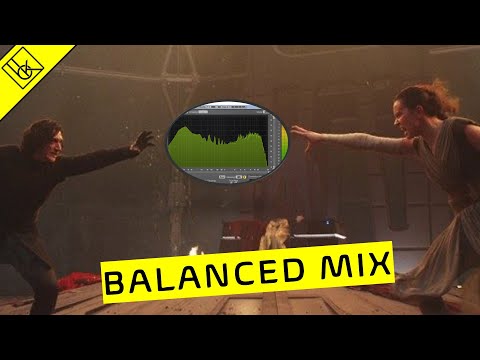
- Industry standard frequency response analysisPeak level differencesProfessional tracks typically show 3-9 dB difference between peaking low end and high end frequencies, with this being the most common standard across progressive house, techno, and melodic electronic music.Frequency targets• Low end (kick) typically peaks around -39 to -38 dB • High end (hi-hats, white noise, splashes, shakers) typically peaks around -43 dBRelativity principleFocus on relative difference between frequencies rather than absolute peak values, as professional mixes maintain consistent frequency response relationships.Geijer as bright exampleGeijer pushes high end more prominently, peaking above 10 kHz, creating a brighter, more upbeat, airier sound compared to the standard.
- Artist frequency response stylesGeijer's bright approachGeijer's tracks sound livelier and more upbeat by pushing the high end higher than industry standard, creating brightness above 10 kHz.Matthem's dark aesthetic• Matthem keeps low end very low and prioritizes sound design and ambience • Uses reduced high-end content to create darker, more atmospheric character • Especially evident in ambient-leaning tracks where highest frequencies are minimizedFrequency response effectUtilizing frequencies differently directly impacts track character: higher high-end frequencies create lighter, airier sounds while lower high-end frequencies produce darker, more ambient results.Personal preferenceArtist choices vary; some prefer livelier, brighter mixes while others pursue darker, more ambient aesthetics through frequency balance.
- Practical mix balancing demonstrationStarting approachBegin with the industry standard of -3 to -9 dB difference between low and high end, then develop your own sound once you understand how standards work.Low end adjustment• Set low end around -6 dB as the expected mastering starting point • This doesn't need to be exactly -6 dB, just approximately in that range is acceptableHigh-end balancing• Start high end around -6 to -9 dB depending on taste and resonant frequencies present • Account for additional boost when synthesizers are added, especially if cutoff frequencies are openedIterative refinementUse visual feedback from Span to guide decisions, but develop ear training to hear imbalances without the tool over time.
- Advanced techniques and final tipsMultiband compression cautionOverly loud low end will trigger limiters and cause distortion; multiband compression on low end may be needed if levels are too aggressive.Mastering perspectiveMastering engineers will adjust levels and may apply compression; understanding their workflow helps create better mix-ready tracks.Learning progression• Master the standard frequency balance first by understanding how it sounds • Once comfortable with standards, begin developing personal sonic identity • Experiment only after learning the foundational rulesKey takeawayUnderstand industry standards, learn how they sound, then intentionally deviate to create your unique sound rather than deviating by accident.