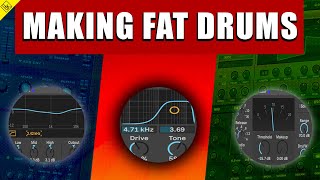
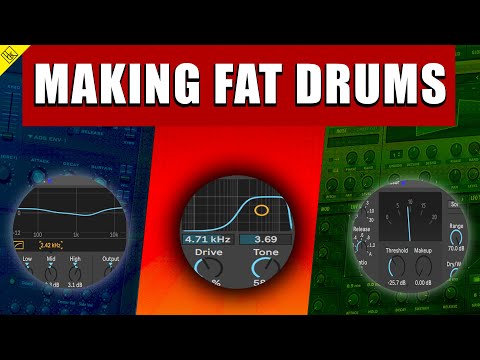
How to make your DRUMS FAT
7 chapitres
- Introduction and PhilosophyOverviewTutorial on making drums sound fat by processing them in real time to explain the decision process and how different techniques add up to create better drum sounds.Fat vs Tight• Fat drums definition: tight but big sounding drums with presence in the mix • Different preferences exist - some like smashed and thick, others prefer snappy and tight • Balancing between having impact and maintaining definitionScope• Oriented towards electronic dance music production • More kick-heavy approach than pop or drum and bass • Requires different processing techniques for different genresSetupUsing studio monitors rather than headphones for detailed work and better frequency balance perception.
- Low End Processing with Kick and BassFoundation• Splitting percussions, hi-hats, and low end are essential first steps • Kick and bass must be processed together - they should be considered as a combined low end unit • Processing kick requires bass consideration and vice versaGlue Compressor• Acts as a bus compressor that grabs transients and lowers them • Uses same attack and decay time to make different sounds blend together • Ableton's glue compressor naturally emphasizes low band more than high end due to volume weightSettings• Start aggressive to hear the effect, then dial back • Use soft clipping to avoid distortion artifacts • Slower attack and release settings for low end to avoid aggressive compression pumping • Parallel compression at 40-50% wet maintains harshness while adding smoothnessResultsGlue compressor plus drum bus processing creates smoother, more defined kick with better transient presentation and enhanced bass presence in the mix.
- EQ and Frequency ShapingApproachUsing channel EQ instead of regular EQ8 provides more vintage warmth and allows pure hearing-based decisions without visual bias towards resonant frequencies.Low End• Slightly boost low frequencies to add EDM or techno feel and enhance fat low end • Creates warmer, more present bass character • Always A/B to verify improvementsMid FrequenciesCut mid frequencies to give more definition to the kick and improve overall clarity.Overall EffectResults in warmer, smoother kick and bass with better definition and more even dynamics across the range.
- High End Processing and HarmonicsConcept• High end requires sufficient harmonics to pop and sit well in the mix • Logarithmic frequency scale means high end (100Hz-10kHz) contains many more frequencies and harmonics than low end • Overdrive and distortion are crucial tools often overlooked for enriching high endOverdrive• Excellent on hi-hats and high-end overlays • Play with dynamics and drive knob to nail the sound • Creates additional bite and harmonics for richer, fuller high end • Watch for low end distortion that overdrive plugins may introduceEQ EmphasisFind the closed hi-hat hit frequency and emphasize it to make the transient pop more in the mix and add definition.CompressionApply glue compressor with faster attack and decay to darken slightly while maintaining bright high end, creating slight tail effect.
- Hi-Hat Enhancement and Parallel ProcessingParallel StrategyCreate return channel with heavily compressed signal to blend with original, adding punch and space to hi-hat hits.Compression Chain• First compressor heavily distorts the hi-hat sound with extreme settings • Second compressor with fast attack to reduce initial hit transient • Creating space when blended with original signal makes hits pop moreBlendingSend hi-hats to parallel compression at subtle levels (around 10-20%) to maintain distortion while avoiding over-processing.BalanceListen to kicks, low end, and high end together to ensure all elements are balanced and complement each other properly.
- Percussion and Master ProcessingPercussion Group• Add saturation to percussion elements if they sound weak • Use medium saturation curve for slightly aggressive character • Brings more space and cohesion to overall drum elementsClap TreatmentKeep clap minimal - primarily for adding vibe to the overall track without excessive processing.Master Glue• Use glue compression on master bus with slower, conservative settings • Employ parallel compression to avoid killing transients • Creates overall cohesion between all drum groupsRoom Reverb• Apply short room reverb (not large) to slightly glue everything together • Send hi-hats, percussions, and clap to reverb at subtle levels • Be careful to avoid creating mush - use shorter reverb times • Final touch that unifies all elements as a cohesive loop
- Final Comparison and Key TakeawaysBefore and After• Hi-hats: More harmonics from overdrive, brighter, fills space better • Kick and bass: More defined transients, darker initially but then brightened by EQ • Overall: Sounds cohesive, breathes better, fatter overallMain DifferencesProcessed version has more presence, better definition, increased harmonics, improved glue, and enhanced transients across all frequency ranges.Key Skills• Hearing and identifying which parts of the sound are missing • Understanding how compressor, EQ, and distortion affect specific frequencies • Learning to use various audio enhancers effectively • Developing critical listening skills and A/B comparison habitsApproachProcessing piece by piece with clear reasoning develops better understanding than simply throwing effects at tracks. Learning why you do something is harder but more valuable than knowing what to do.