
How To Use Automation Clips - FL Studio 20 Essentials
7 capitulos
- Understanding Automation BasicsDefinitionAutomation lets you control parameters inside FL Studio software automatically, such as faders, pans, reverb amounts, or any other parameter.Practical UseInstead of manually pushing a fader, you can assign an automation clip to control it automatically throughout your song.Parameter Range• Volume faders • Pan controls • Mute buttons • Plugin effects parametersKey PrincipleThe automation clip follows the exact value of the parameter it controls, creating dynamic changes over time.
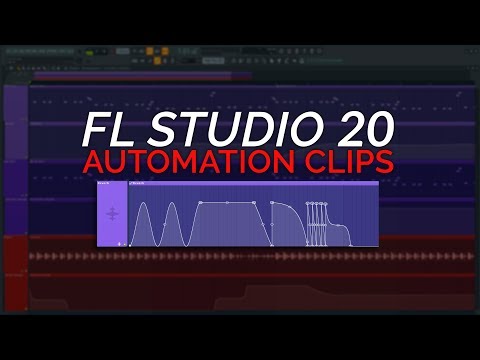
- Creating Your First Automation ClipSetup Steps• Highlight the section of your song where you want automation • Select the parameter you want to automate • Right-click and choose 'Create automation clip'Initial StateThe automation clip appears as a flat line in the playlist and channel rack automation folder, matching the current parameter value.Creating PointsRight-click on the automation clip to create points, then drag them to adjust values—the parameter will follow automatically.OrganizationName and color your automation clips for clarity, and group them with their associated tracks using the J key.
- Point Types and Curve ControlPoint Management• Right-click to create points anywhere on the clip • Click and drag points to move them • Hold Alt for fluid movement in all directions • Hold Ctrl to move only vertically • Hold Shift to move only horizontallyCurve Types• Smooth points for gradual transitions • Double curve points for shaped automation • Hold points that move sharply up and down • Pulses and waves for advanced controlExact ValuesSet the fader to your desired value, right-click it to 'Copy value,' then paste that value directly into your automation point for precision.ApplicationThese techniques work for any FL Studio parameter including EQ mix amounts and any parameter within plugins.
- Automating Third-Party PluginsDetection MethodLeft-click and wiggle the plugin parameter you want to automate so FL Studio recognizes which control you're targeting.Automation CreationRight-click the parameter in the master control section and select 'Create automation clip' to add automation for that specific parameter.Example PluginDemonstrated with Serum synth reverb parameter, automating the mix level to increase reverb gradually over time.Universal SupportThis method works for any third-party plugin parameter, giving you the same control as native FL Studio parameters.
- Copying and Pasting AutomationUse CaseCopy automation from one track to another to apply the same dynamic changes to multiple channels, like increasing both drum and bass volume together.Copy Process• Double-click the automation clip to open it • Click the wrench icon in the toolbar • Select 'Copy state' to copy the entire automation patternPaste Process• Double-click the target automation clip • Click the wrench icon • Select 'Paste state' to apply the identical automationResultThe automation pattern is pasted identically to the new track, maintaining the same timing and curve shape.
- Range Control and Fine-TuningPurposeSet minimum and maximum values for automation clips to control the range of parameter change, enabling subtle or extreme adjustments.Default RangeBy default, the bottom of the clip represents minus infinity and the top represents the maximum value of the parameter.Custom Range Setup• Double-click the automation clip to access minimum and maximum value fields • Adjust these values to constrain automation movement within your chosen range • Example: set minimum to -10 dB and maximum to +2 dB for vocal volume automationPractical ApplicationCritical for detailed work like vocal automation where small changes of 0.5 dB or 1 dB provide precise, subtle control.
- Cleanup and Best PracticesDeleting Automation• Go to the channel rack automation folder • Right-click and delete unwanted automation clips • Go to Current Project > Patterns > Initialize Controls to completely remove it from your projectOrganization TipsColor-code and name automation clips as you create them to keep your project organized and easy to navigate.Creative PossibilitiesDon't limit automation to just faders and reverbs—automate any parameter in your project for creative and dynamic arrangements.SummaryAutomation is a powerful tool for adding movement and control to your music; experiment freely and explore all available parameters.




