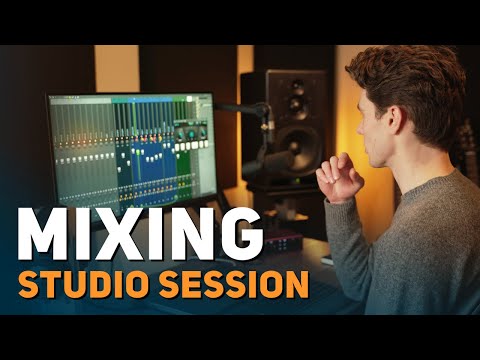
Mixing A Song Start To Finish: Can You Hear The Difference?
7 chapitres
- Introduction and Project OverviewSeries ContextThis video is part of a series showing the complete process from songwriting through recording to mixing.Collaborators• Chris Buck - professional guitarist and content creator who recorded drums, guitar, and bass parts • Cara - professional vocalist and content creator who wrote the song and recorded all vocalsEquipment UsedEverything was recorded and mixed using Focusrite Scarlet interfaces, Focusrite microphones, included software and plugins, and stock DAW plugins.Mixing ApproachThe plan is to start with rough levels and panning, then process each group of instruments systematically with EQs, compressors, autotune, reverb, and channel strips.
- Drum and Percussion ProcessingInitial ListeningThe tracks sound good on their own but benefit from careful processing to optimize their sound in the mix.Kick Drum EnhancementA small boost to the low end of the kick drum adds weight and makes the drums sound more confident in the mix.Channel Strip ProcessingChannel strips combine filters, compressors, gates, desers, and saturation in one place for efficient drum processing.Shaker Loop TreatmentThe shaker loop had excess low mids, so a high-pass filter was applied to clean up the low frequency content.
- Bass Guitar ProcessingDynamic ControlThe bass was recorded live with significant volume variation, so compression was used to level out the performance while preserving transient attacks.Harmonic EnhancementHarmonic distortion was applied through the channel strip to make the bass translate well across all speaker systems and headphones.Compression DetailsThe red compressor filled in quiet sections with more volume without removing all natural variation in the performance.Kick-Bass RelationshipSide-chaining was applied so that each time the kick hits, the bass reduces by 2-3 dB, allowing them to fit together better without buildup.
- Guitar and Effects ProcessingIntro ApproachDuring the intro and verses, the guitars were left mostly untouched since they're the only mid-range instrument besides vocals.Chorus TreatmentIn the chorus, the electric guitar was thinned slightly using a fast balancer plugin to prevent congestion from the prominent bass guitar.Clarity EnhancementThe fast balancer plugin was set to neutral mode to pull more clarity into the guitar sound without making it overly bright.Mix ImpactThe guitar processing helps it cut through the mix when all instruments play together.
- Vocal Tuning and CompressionAutotune ApplicationAutotune was added to all vocal layers on medium setting to gently adjust pitch by 5-20 cents, making them more harmonious without obvious tuning artifacts.Dynamic Vocal ControlA two-stage compression approach was used: a fast compressor to grab peaks, followed by gentle compression on the rest of the signal.Performance PhilosophyThe dynamic vocal performance is a positive sign showing good recording technique; compression controls the range without fixing any problems in the delivery.Tonal BenefitsCompression pulled up tone and added brightness to the vocals, so EQ adjustments are applied after compression rather than before.
- Vocal Effects and Spatial ProcessingDelay SetupA pingpong delay send was configured on the lead vocals with fast timing to catch the ends of words, and EQ applied to keep delays in the mid-frequency range.Delay DuckingSide-chaining from the lead vocal ducks the delays whenever the vocal sings, allowing them to swell between words for a clean, professional effect.Reverb TreatmentTwo reverb sends were used: a long reverb for depth and a short reverb that functions as a stereo widening effect in the final mix.Vocal EQ StrategyThe vocal recording is clean and well-performed, so only minimal EQ adjustments were needed to help the vocals sit in the verses.
- Mastering and Final MixMaster Desk PluginMaster Desk combines compression, EQ, and limiting into one place for simplified mastering of the final mix.Loudness OptimizationThe mastered track has a much higher average loudness than the raw mix due to compression and limiting, even though peak levels are similar.Final ProcessingAfter making adjustments to the master, the tracks were exported to demonstrate the difference between the unprocessed and fully mixed versions.Before and After ComparisonThe final master is played against the raw mix to show the cumulative impact of all mixing decisions throughout the process.