How to Load a Hasselblad SWC Film Camera (Super Wide Film Camera) - Smarter Every Day 2
6 chapters
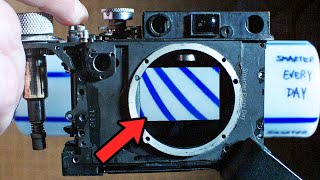
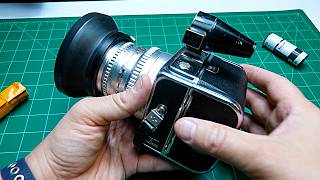
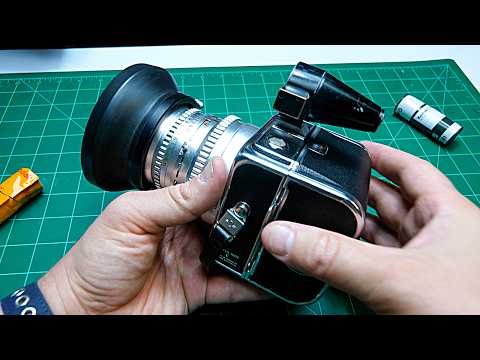
- Introduction and Camera OverviewMeeting the ExpertNico from Nico's photography show works at a camera store in Finland and specializes in film photography news and education.Camera IntroductionThe camera being demonstrated is a Hasselblad SWC (Super Wide Camera) with a C12 back, a manual film camera system.Learning GoalsThe tutorial will cover how to properly load film into the camera and how to unload a finished roll.SetupThe camera back is removed to make the loading process easier to demonstrate and understand.
- Unloading Finished FilmWinding ProcessLift the small lever on the side of the camera and turn the winding mechanism clockwise to spool the film onto itself.Tension ControlKeep consistent tension while winding clockwise until resistance increases, indicating the film is fully wound.Back RemovalPush the button on the back to the right and pull to detach the camera back from the body.Accessing FilmLift the left wing mechanism and turn counterclockwise to release and remove the film spool from the camera.
- Preparing and Loading New FilmFilm Handling• Hold the film roll to prevent it from unraveling • Lift the take-up spool mechanism all the way up • Always fold the film leader under for lab processing convenience • Lick the film leader to create an adhesive connectionSpool TransferMove the empty spool from the supply side to the receiving end, then push it down and give it a slight twist to secure it.ISO SettingSet the ISO dial on the camera back to match the film speed—in this case, Portra 800 ISO.Film Type LabelThe colored indicator ring helps identify film type: the position shows whether the film is color negative, slides, or tungsten film.
- Threading Film and EngagementOrientation CheckEnsure the film unrolls toward the exposure area by visualizing where the image will be captured on the film.Lever OperationPush the small side lever to prepare for threading. This is a critical step that releases the take-up spool mechanism.Threading Technique• Keep tension on the film while threading • Slide the film leader under the mechanism on one side • Find the slit on the take-up spool and feed the film leader through it • Use gentle, deliberate movements to avoid jammingEngaging the SpoolTurn the take-up spool clockwise to allow the film to bite and grip the leader, then verify the film is secured underneath.
- Installing the Back and Frame CounterBack InstallationInsert the camera back by engaging it with the knurled mechanism inside the camera body, then give it a slight wiggle to lock it fully in place.Light SealingPush the back all the way down until it is completely light-tight and secure.Frame Counter ActivationFor manual C12 models, look through the peephole on the back while turning the film advance mechanism clockwise until you see frame number 1 appear.Counter ResetTurn the frame counter knob counterclockwise until the number 1 indicator appears in the window, then close the peephole lid.
- Final Preparation and Camera ReadyViewfinder InstallationFeed the film leader from the feet and slide the lock gently into place before inserting the viewfinder.Ready to ShootOnce the back is secured with the frame counter set to frame 1, the camera is ready for photography.Metering SetupUse a separate light meter to determine proper exposure for the loaded film speed of 800 ISO.ResourcesFor purchasing Hasselblad cameras and equipment, visit CameraStore.com (with a K), a camera store located in Finland.
![How Does Film ACTUALLY Work? (It's MAGIC) [Photos and Development] - Smarter Every Day 258](https://img.youtube.com/vi/TCxoZlFqzwA/mqdefault.jpg)