

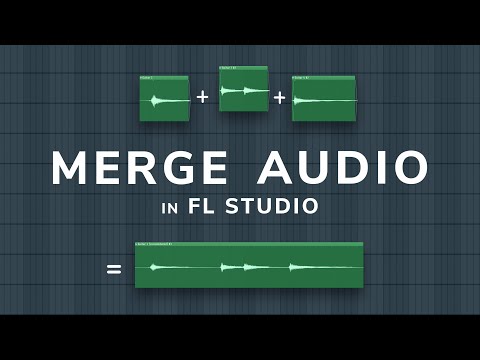
How To Merge/Consolidate Audio In FL Studio 20.6
9 chapters
- Introduction and SetupOverviewThis tutorial demonstrates how to combine multiple audio clips on the playlist into one track, a process called consolidating, comping, or merging tracks in FL Studio 20.Initial ConfigurationSelect any audio and uncheck the stretch box in the top left corner to prevent audio from being randomly resized when cutting it later.Key ConceptThe consolidation process allows you to work efficiently with multiple audio takes and combine them into a single track.PrerequisitesWorking within FL Studio 20 with basic understanding of the playlist interface and audio clips.
- Selecting and Editing Audio TakesCutting Technique• Press C to activate the cut tool • Left click and drag to create cut lines • Press Shift to move the cut line side to side • Create multiple cuts to slice the audio into sectionsTroubleshootingIf keyboard shortcuts aren't working, turn off the typing keyboard to piano keyboard symbol in the top toolbar.Deleting Unwanted TakesWith the pencil tool selected, right click to delete any takes you don't want to keep.Selecting Best PartsGo through the different takes and pick the best sections to combine into your final consolidated track.
- Adding Smooth CrossfadesFade ConfigurationDouble click on each audio clip and select the AD clicking mode, then change from starts on transient to smooth or crossfade.Visual FeedbackWhen zoomed in, you'll see a nice smooth fade added at the end of each clip.Benefits• Avoids clicks and pops between audio sections • Eliminates random noises • Creates smooth transitions between parts • Clips fade naturally into each otherResultThe transition sounds like it was part of the same continuous take.
- Organizing Clips on One TrackMoving ClipsHold Ctrl and left click then drag the selected clips upward to move them to a single track, which prevents them from moving side to side.Multiple SelectionsSelect multiple clips in the middle by using Ctrl and left click, then hold Ctrl and drag them together onto one track.Mixer AssignmentSend all clips to the same mixer track by pressing F9 to open the mixer, then double click on each clip to send them to the same destination track.ResultAll selected clips are now consolidated on a single track and sent to the same mixer channel.
- Basic Consolidation MethodConsolidation ProcessSelect the track, right click, and go down to consolidate this track from track start or song start.Dialog Settings• Leave remainder of the tail on • Keep wave bit-depth at 24 bits • Set resample quality to at least 64 or 128 • Turn off master effects but may enable insert effectsRenderingPress Start to render the consolidated audio, which takes just a moment to complete.OutcomeAll clips are combined into one single audio clip, visible when muting the original clips underneath.
- Keyboard Shortcut MethodSelectionSelect the clips on the playlist to make a whole selection.Shortcut ActionPress Ctrl+Alt+C to pull open the consolidation dialog box for just the selected section.Key Advantage• Consolidates only the exact section selected, not from track start • Automatically mutes all other clips underneath • No need to manually mute or disable other clipsRecoveryPress T and left click to unmute and get back any clips if needed.
- Consolidating with EffectsEffect SetupUse effects like reverb and EQ on your mixer track to add processing to the audio before consolidation.Consolidation with EffectsSelect the clips with effects applied and consolidate to print the effects into the audio.Tail ExtensionWhen consolidating with reverb, pull out the tail of the sound to maintain a nice long decay on the reverb effect.ResultThe consolidated audio includes all applied effects baked into the final clip.
- Legacy Recording MethodTraditional ApproachThis is the old-school method used before newer consolidation options were available.Setup Steps• Open the mixer by pressing F9 • Ensure all audio is sent to a specific mixer track • Select the disc recording icon on the track and make sure it's redRendering ProcessGo to the top menu and select disc recording render to WAV file, or press Alt+R, then set to 24 bits and press Start.Post-RenderingThe audio is exported as a WAV file, and you may want to press T to mute the original clips and keep only the new rendered clip.
- Consolidation for MIDI and Final TipsMIDI ConsolidationThe same consolidation technique works for MIDI tracks as well as audio, allowing you to bounce out MIDI patterns.MIDI Process• Select your MIDI track • Go to consolidate this track • The MIDI pattern is bounced out and mutedPerformance Trade-offConsolidating saves CPU usage but may increase RAM or memory requirements of your project.Closing RemarksThese consolidation techniques are essential basics for working efficiently in FL Studio, and a remix competition with prizes is coming soon.




