Subtractive EQ for Clarity - Acoustic Guitar EQ
5 chapters
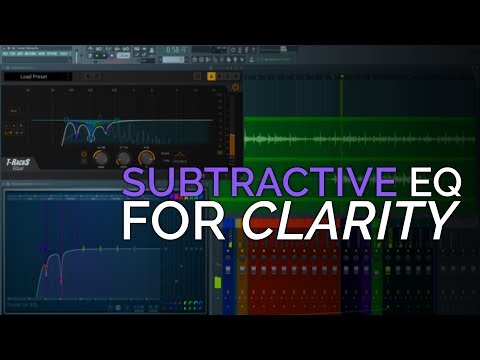
- Introduction and Problem OverviewWelcomeMichael from In The Mix demonstrates a subtractive EQ technique to clean up home recordings, using a real mixing job for client Lou Cheeto as an example.Recording Issues• Resonant frequencies from the room, microphone, or equipment • Boomy and boxy frequencies in the low mids • Recording quality needed improvement to fit professionally in the mixApproachTwo-part technique: removing noise from stems first, then using EQ to subtract and remove bad boomy frequencies.SetupFive unedited guitar stems shown in light green at the top, with edited versions in dark green at the bottom for comparison.
- Before and After ComparisonListening RequirementsHeadphones or monitor speakers are necessary to hear the differences in this tutorial.What to ExpectThe guitar playing itself is very nice, but the differences focus on the low mids where the unedited version sounds less clear and less focused than the edited version.Stem ComparisonSwitching between unedited and edited stems reveals how much clarity and focus improvement is possible with proper EQ application.Key DifferenceOne version is a lot more clear and a lot more focused than the other, making the guitar sound more professional and competitive in a mix.
- EQ Technique Breakdown and ProcessTool ChoiceUsing Fruity Parametric EQ2 for demonstration, though other EQs can be used. Preference is for EQs where you cannot see the visual feedback, relying on ears instead.First Step• Remove low frequency rumble with a high-pass filter • Set the filter to roll off everything below 70-80 Hertz • This gentle approach won't drastically change the overall soundMain TechniqueRaise a narrow parametric EQ peak to approximately 6 dB with a very sharp Q factor, then sweep through the frequency range to identify problematic frequencies that sound strange or resonant.Frequency ScanningStart scanning around 400 Hertz and move downward, as the 100-400 Hertz region typically contains the most problems in untreated home studios.
- Identifying and Removing Problem FrequenciesDetection ProcessListen for frequencies that sound strange, phased, peaking, or different. A resonant frequency around 310-312 Hertz was identified in this example, which sounded really loud and not right.Reduction Method• Take down identified resonant frequencies by a few dB • Use multiple parametric peaks if needed to target different problem areas • Second problematic frequency found around 230 HertzBalance ConsiderationAvoid removing too much energy or the guitar will sound thin and lifeless. Only reduce enough to improve clarity while preserving the weight and character of the signal.Common Problem Areas• 120 Hertz - typical problem frequency • 220 Hertz - common resonance issue • 300-350 Hertz - usually the biggest problem areas in untreated home studios • 7-8 kHz - occasionally produces ringing sound depending on room size
- Validation and Final ResultsComparison MethodTurn the effect on and off repeatedly to ensure the EQ improvement is noticeable and that the track hasn't been over-processed or made too thin.ResultsThe edited version with EQ sounds much better and allows the nice guitar playing to shine through while maintaining clarity and focus.Benefits• Better position for mixing decisions • No competing frequencies that muddy the mix • Improved clarity and separation from other elementsImportant ReminderListen at comfortable levels to keep hearing fresh and effective. Keep checking before and after to avoid killing the life out of the track. Not all recordings need this technique if they're already perfect.